Posts

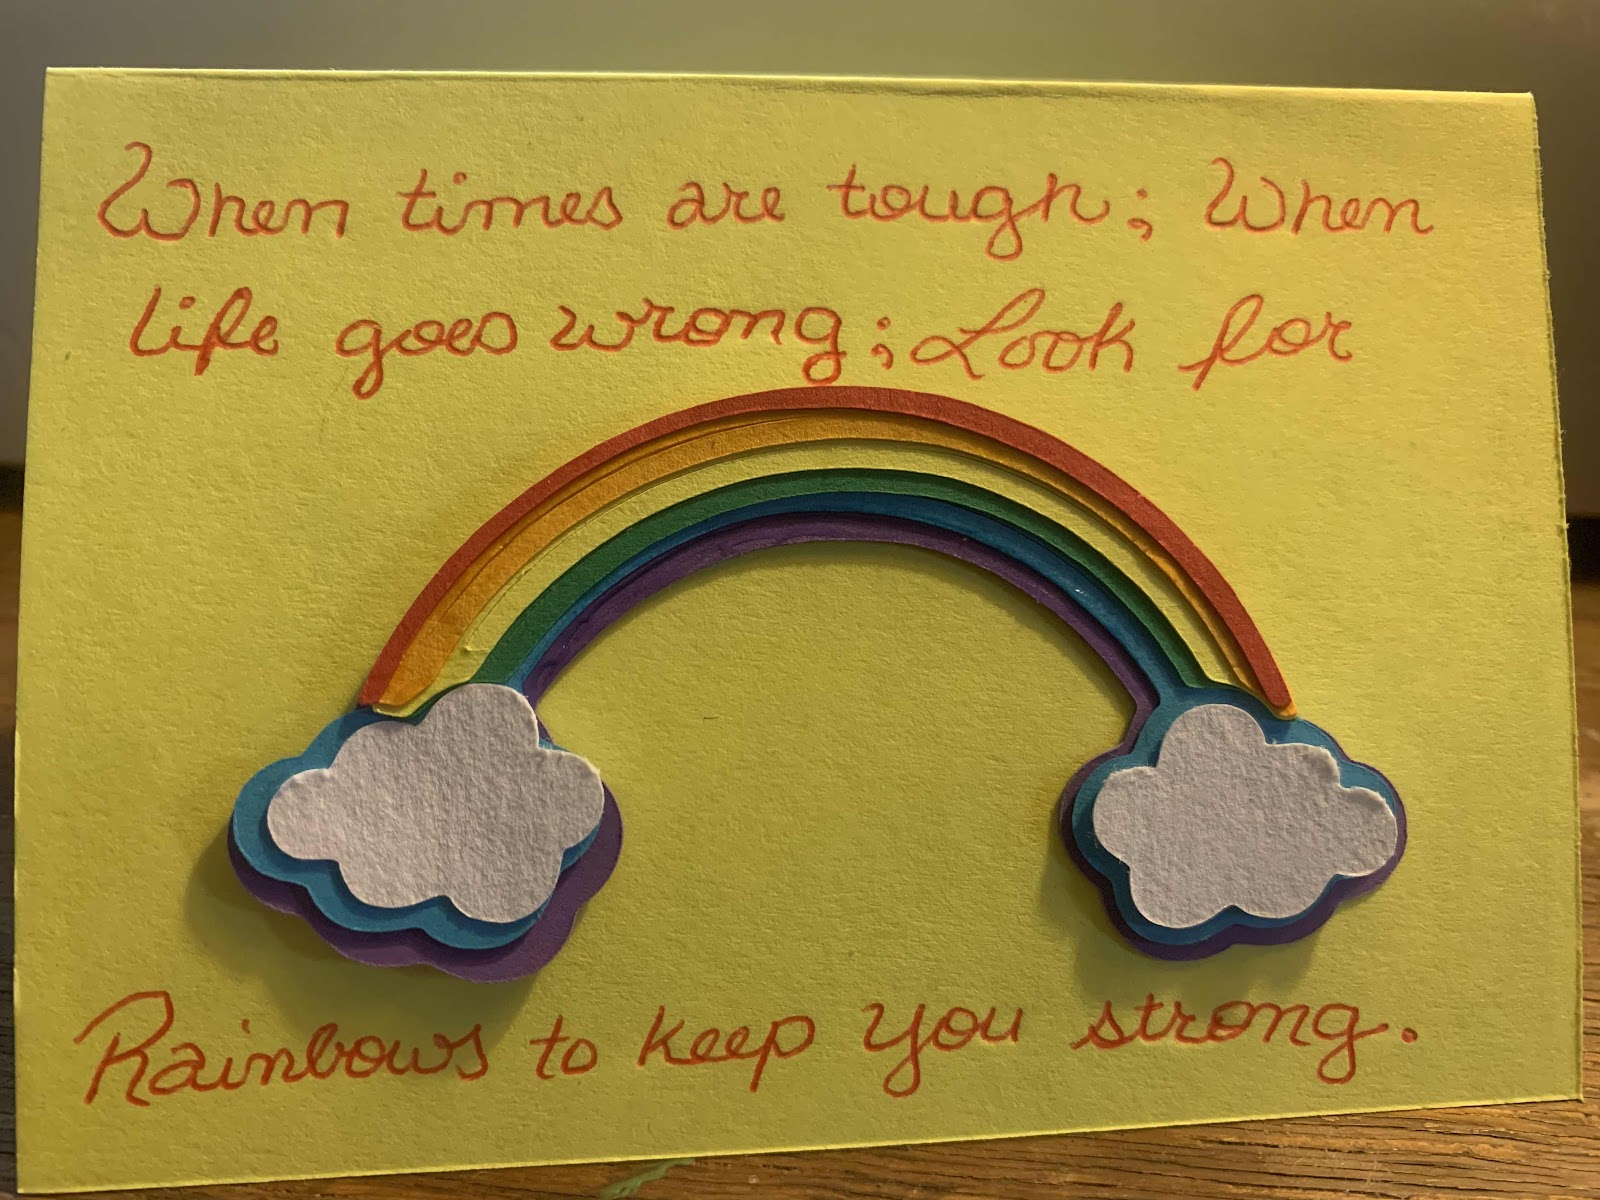
Beautiful like a rainbow

Image
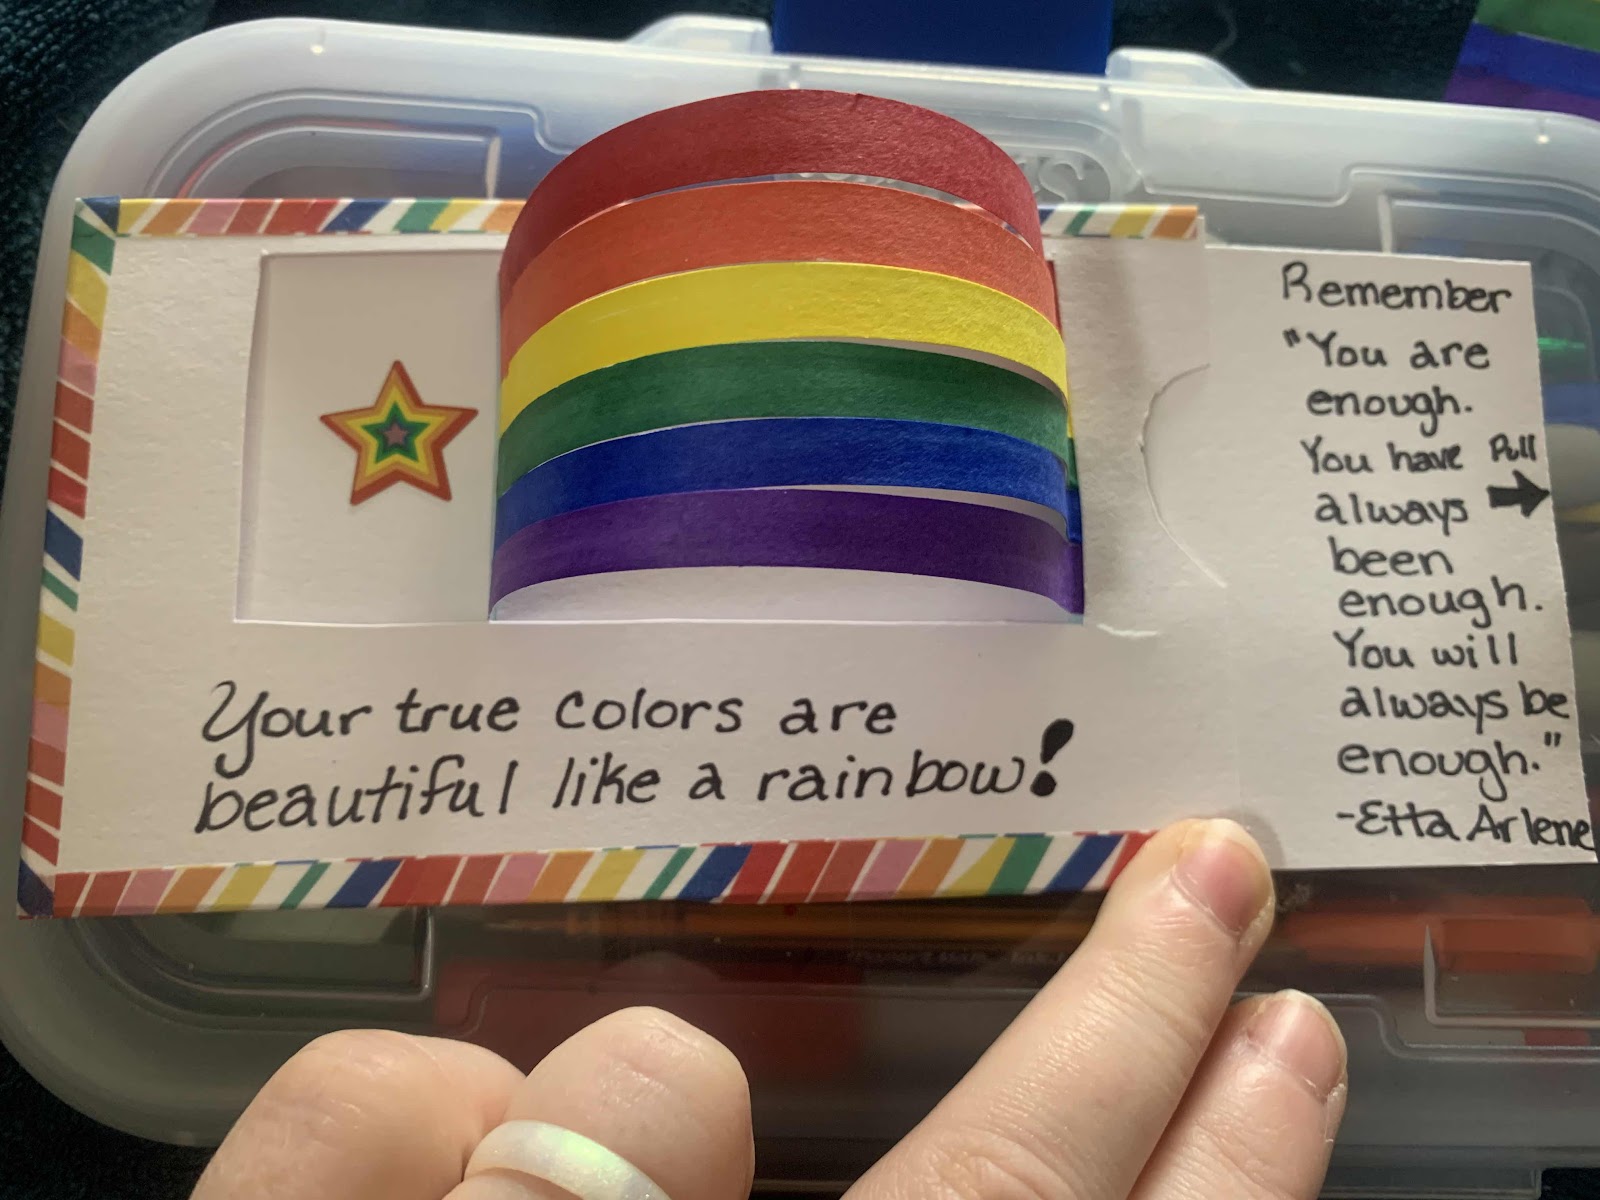
It has taken me so long to post this one because I kept thinking that I wanted to do it on the cricut and wanted to make it perfect, but as I couldn’t put it off any longer. I needed to get some cards out and I have to let go of perfection. So here it is, without the cricut. This is my favorite card. I have been sending them to LGBT kids as a “just because.” A paper hug to let them know they are being thought of and are not alone. This is also the first card that I made (not this particular one, but this design). I saw a Pinterest  pin  and really liked it. They used a die cutter and it is more refined than my hand-cut one, but I really wanted another color in the rainbow. I’ve come to like the imperfections of cutting it myself (plus I do not need more craft stupplies). Anyway, I made mine out of what I had on hand at the time 3x5 blank notecards. I use 4 for each rainbow card. First I cut the rainbow piece out. I found it easier to cut one whole side than trying to only cut out the m

You are essential

Image
 I got an email today about a young LBGT+ youth who was in the hospital for suicidal tendencies.  I looked at some of the cards I had made in the past and nothing really struck me as right to send to this person.  So, I wrote up what I wanted to say and then tried to think of what a card would have on it that would match that sentiment. I don't think it is 100% right as it looks a bit sparse (so if you have ideas please please let me know), but this is what I came up with. To make this card,  I used the Locker Talk cartridge.  Technically, it is supposed to be a globe, but I wanted just the Earth. Maybe I am missing something, but the oceans and the continents are in the same cut and super close to each other, so I was worried about how I would get them in different colors.  Here is how I did it and I am still amazed it worked out so well. I lined my two papers right on the 6-inch mark. I probably could have used something else, but centered it, just to make it easier on my brain. 

One more small step

Image
 I made another "one small step" card and I learned a few things so that it turned out a little better than last time, so I wanted to make this update post. Here is the original post which has the dimensions of each of the elements and other notes:  One small step 1- I have switched to using a glue stick. The glue pens seem like they would do a better job with their little tips, but I have not quite mastered them yet and when I push the paper down it leaks out even though I thought I had only used a tiny amount. Glue sticks do not have this problem.  2 - I used shiny paper so that the snow sort of sparkles, though you can't tell in the pictures. 3 - I remembered to fold the inner liner before writing on it and before adding it to the card. Otherwise, if I didn't fold, the words might have landed on the crease and more importantly, if I glued it on flat and then folded the card, it caused the inside to bubble up and then there were creases. 4 - Since I have not yet fig

Soar

Image
 I wanted something pretty fast and easy for today's card.  I had the disastrous burn notice on my instant pot and had to fool around with dinner quite a bit, so I didn't have much time and I didn't want to spend too much time thinking. For this card, I cut a kind of pocket that my note would go inside.  I used the CTMH Artfully sent cartridge and cut this butterfly pocket at 5 inches.  Bonus, there are lots of little butterflies left over to use on other cards or I can just add them into an envelope like confetti.  Before gluing the pocket together, I taped in a piece of patterned paper to make the butterflies all look different colors. I picked up this paper at the dollar tree. It is thin, so not good for the base of a card, but I thought it looked great here.  I scored where it is marked and I realized that I am not sure which direction you are supposed to put the paper in for the scoring or which way you are supposed to fold after scoring. I must have done something wro

Rainbows and Stars

Image
 This one will need some more tinkering.  I have several cartridges that have rainbows in them, but they are only four colors, did no one teach Cricut ROY G BIV? The one that had the most colors was from the groovy times cartridge on page 63 at 1.25 inch relative. So I went ahead and started there.  I used the shadow as the purple color, but I had to offset the rainbow on it to get the rainbow part correct and it kind of makes the clouds look a bit off.  Besides that, it was a little finicky trying to get all of the rainbow parts lined up. they had little cut marks, but I felt that made it a little harder for me.  I ended up starting with the blue, then the clouds, then lined up the colors in order green, yellow, orange, and red. I finished by adding the purple shadow. For the inside, I used the CTMH artfully sent cartridge on page 50 at 5 inches (which I had to cut down, next time I will make it 4.5). I am planning on filling the card/envelope with rainbow and star stickers (it would

One small step

Image
9/13/20: An updated version of this card can be found HERE . My favorites of my Cricut cartridges so far is the Close to My Heart ones.  I hate that this is true because Close to my Heart (many times abbreviated CTMH) is a MLM company, meaning they make money by making their consultants buy products and the consultants make very little money for the products they sell. The cartridges are quite expensive. However, each has 700 images on them, where regular Cricut cartridges have around 200 and personally I have really been drawn to the cuts on these cartridges. My mom lucked unto some that were used and got a really good deal is the only reason I have them, though I am considering buying one on clearance off the website.  Anyway, I didn't want to use them in this post without pointing out the type of company that sells them so that you can make an educated decision on if they are right for you. Now that is out of the way, onto the card. I found this card idea on Pinterest.  Here is