Beautiful like a rainbow
It has taken me so long to post this one because I kept thinking that I wanted to do it on the cricut and wanted to make it perfect, but as I couldn’t put it off any longer. I needed to get some cards out and I have to let go of perfection. So here it is, without the cricut.
This is my favorite card.

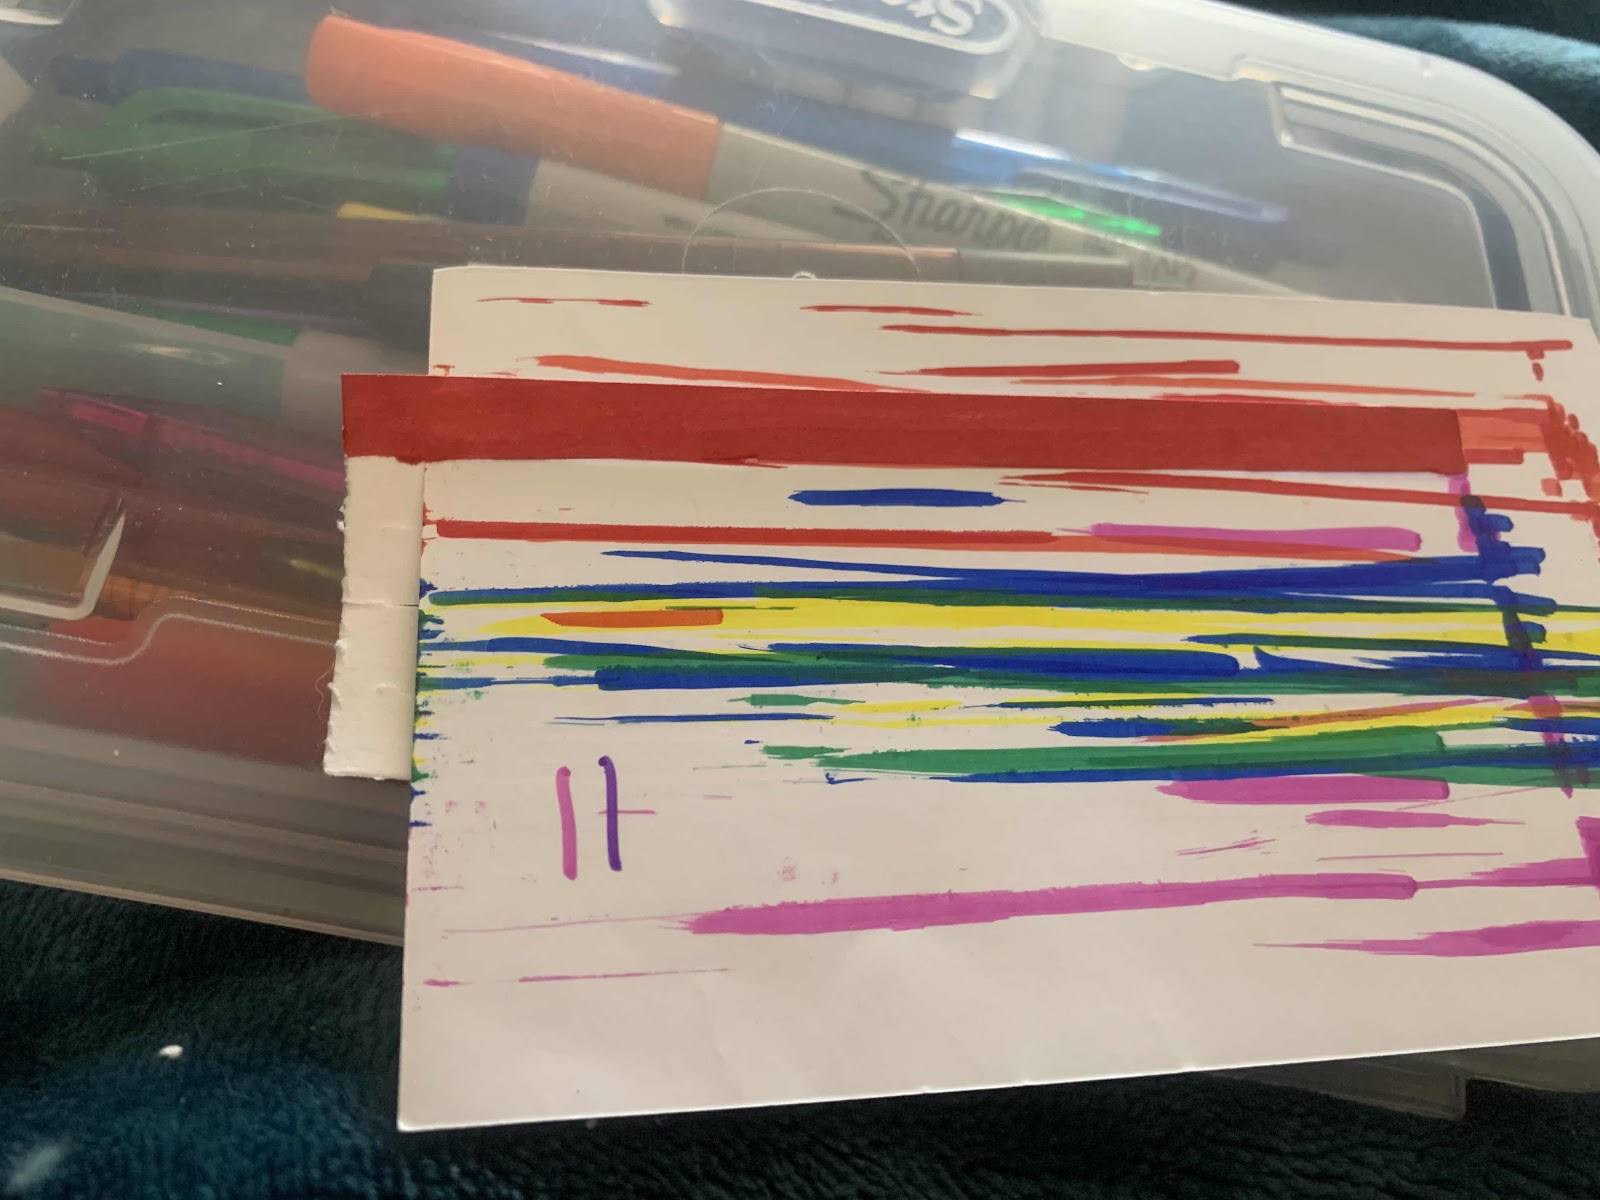
Then I color each of the little pieces of the rainbow, putting a piece of paper between so I don’t get the marker on the other strips and I am able to get the edges well.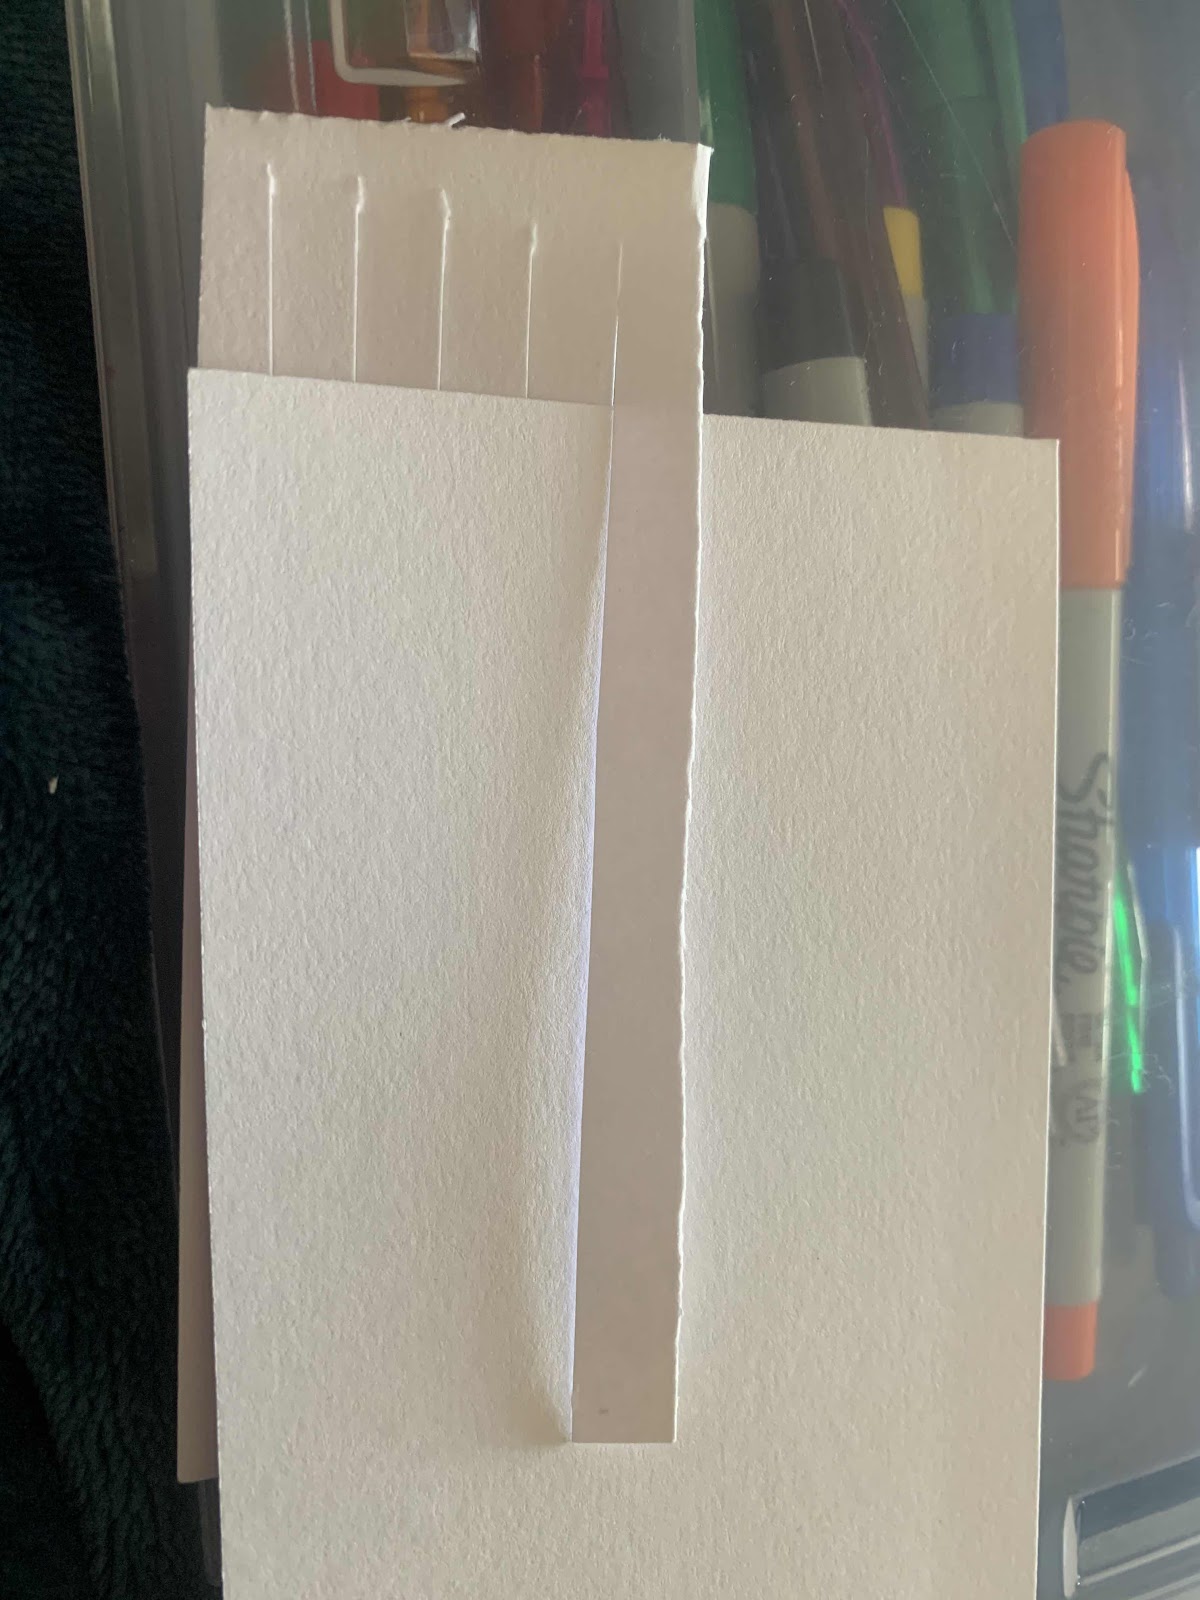
I use sharpies, though I have borrowed my oldest alcohol markers and they worked a little better coloring both sides of the paper. I don’t think it is needed though (and they are a lot more expensive).

When it is finished being colored it looks like this.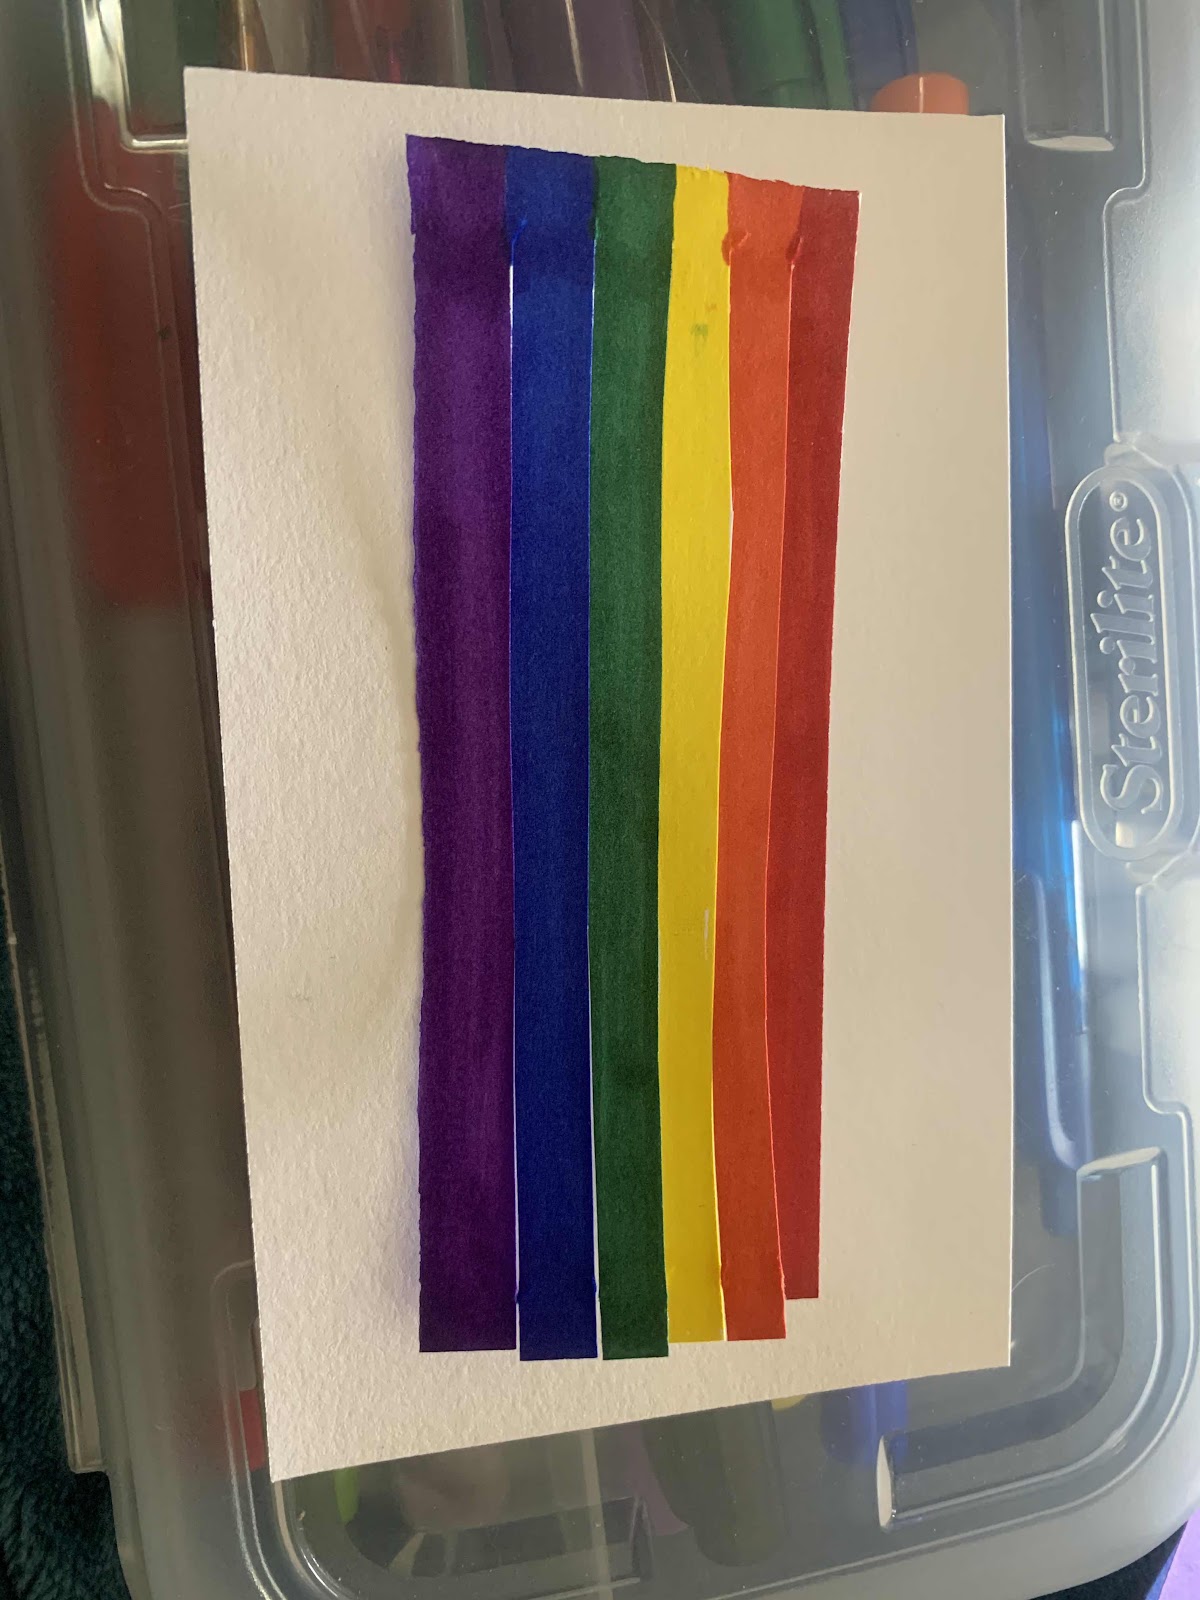
Next, I cut a half-circular notch in two of the cards.
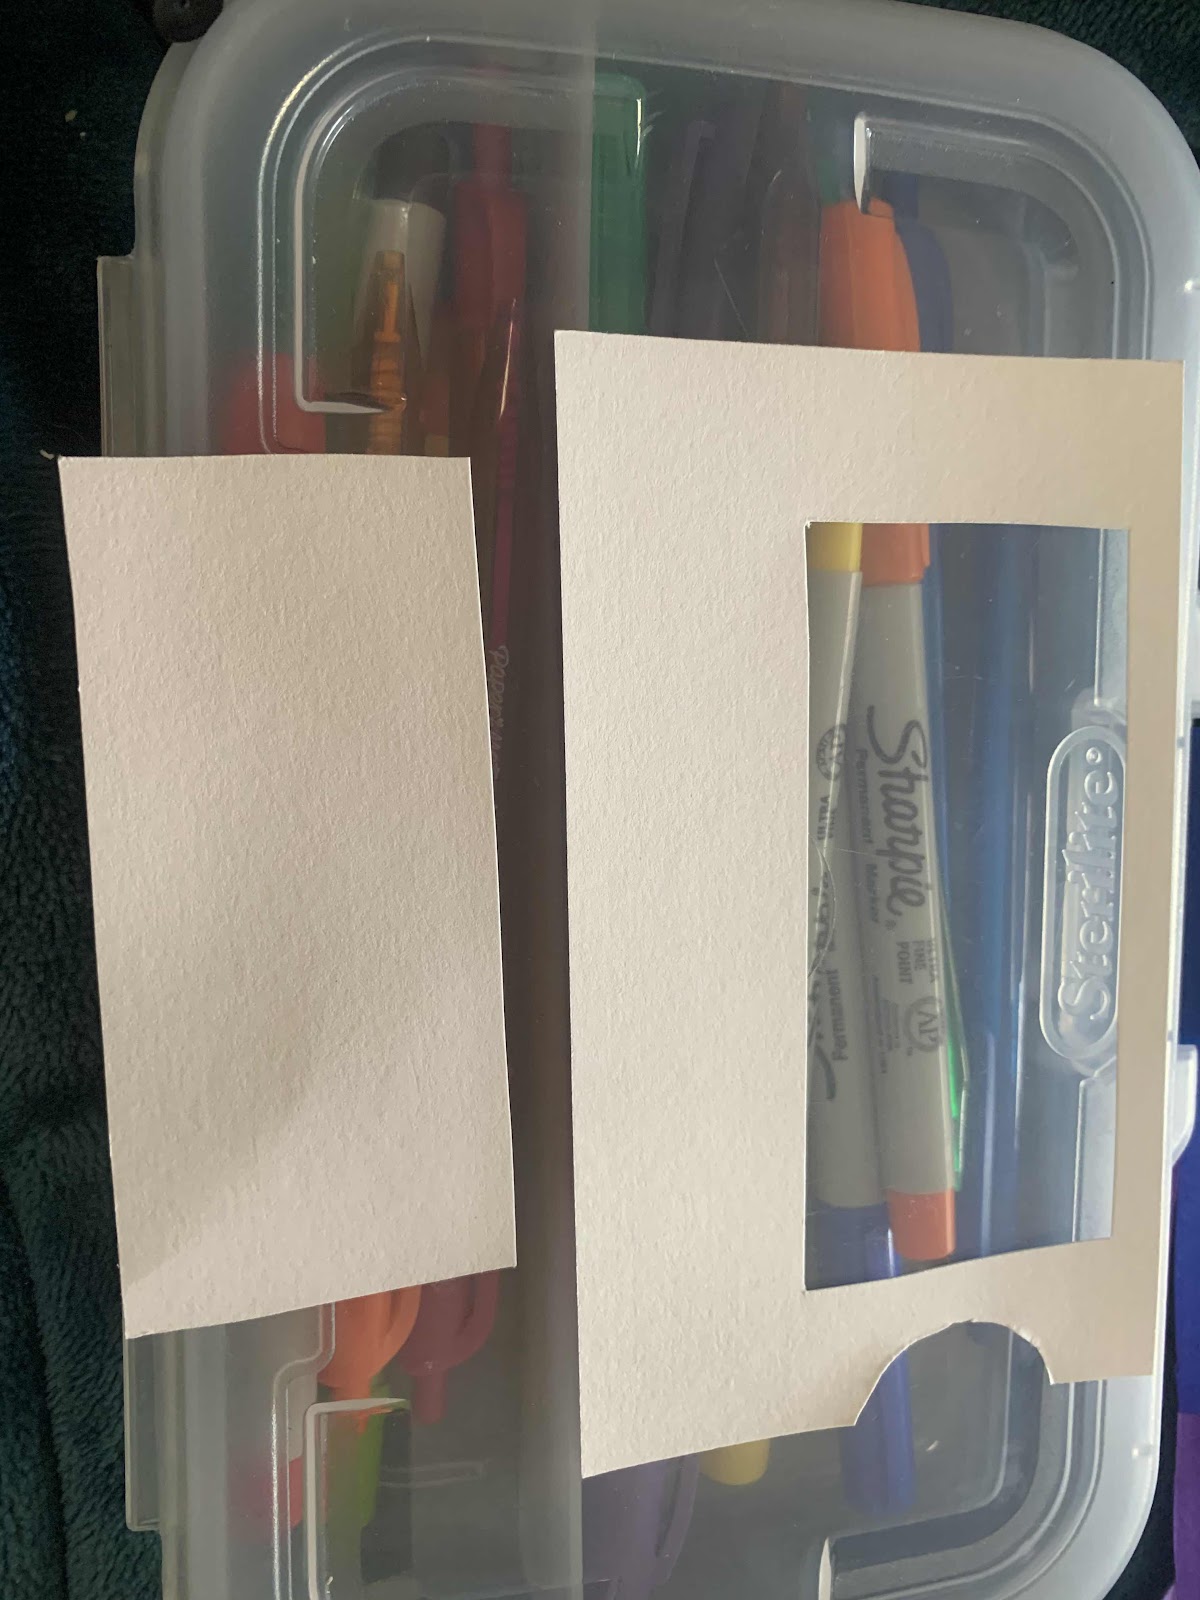
The rectangle cut out is not used in the project, it is too small for the rainbow and I have not found a good use for it yet.
Now for the assembly.

Then I carefully flip it all over together and draw an arrow and “pull” on the part that is shown through the cut circle.
I then set the front of the card aside so I can write on the middle part of the card.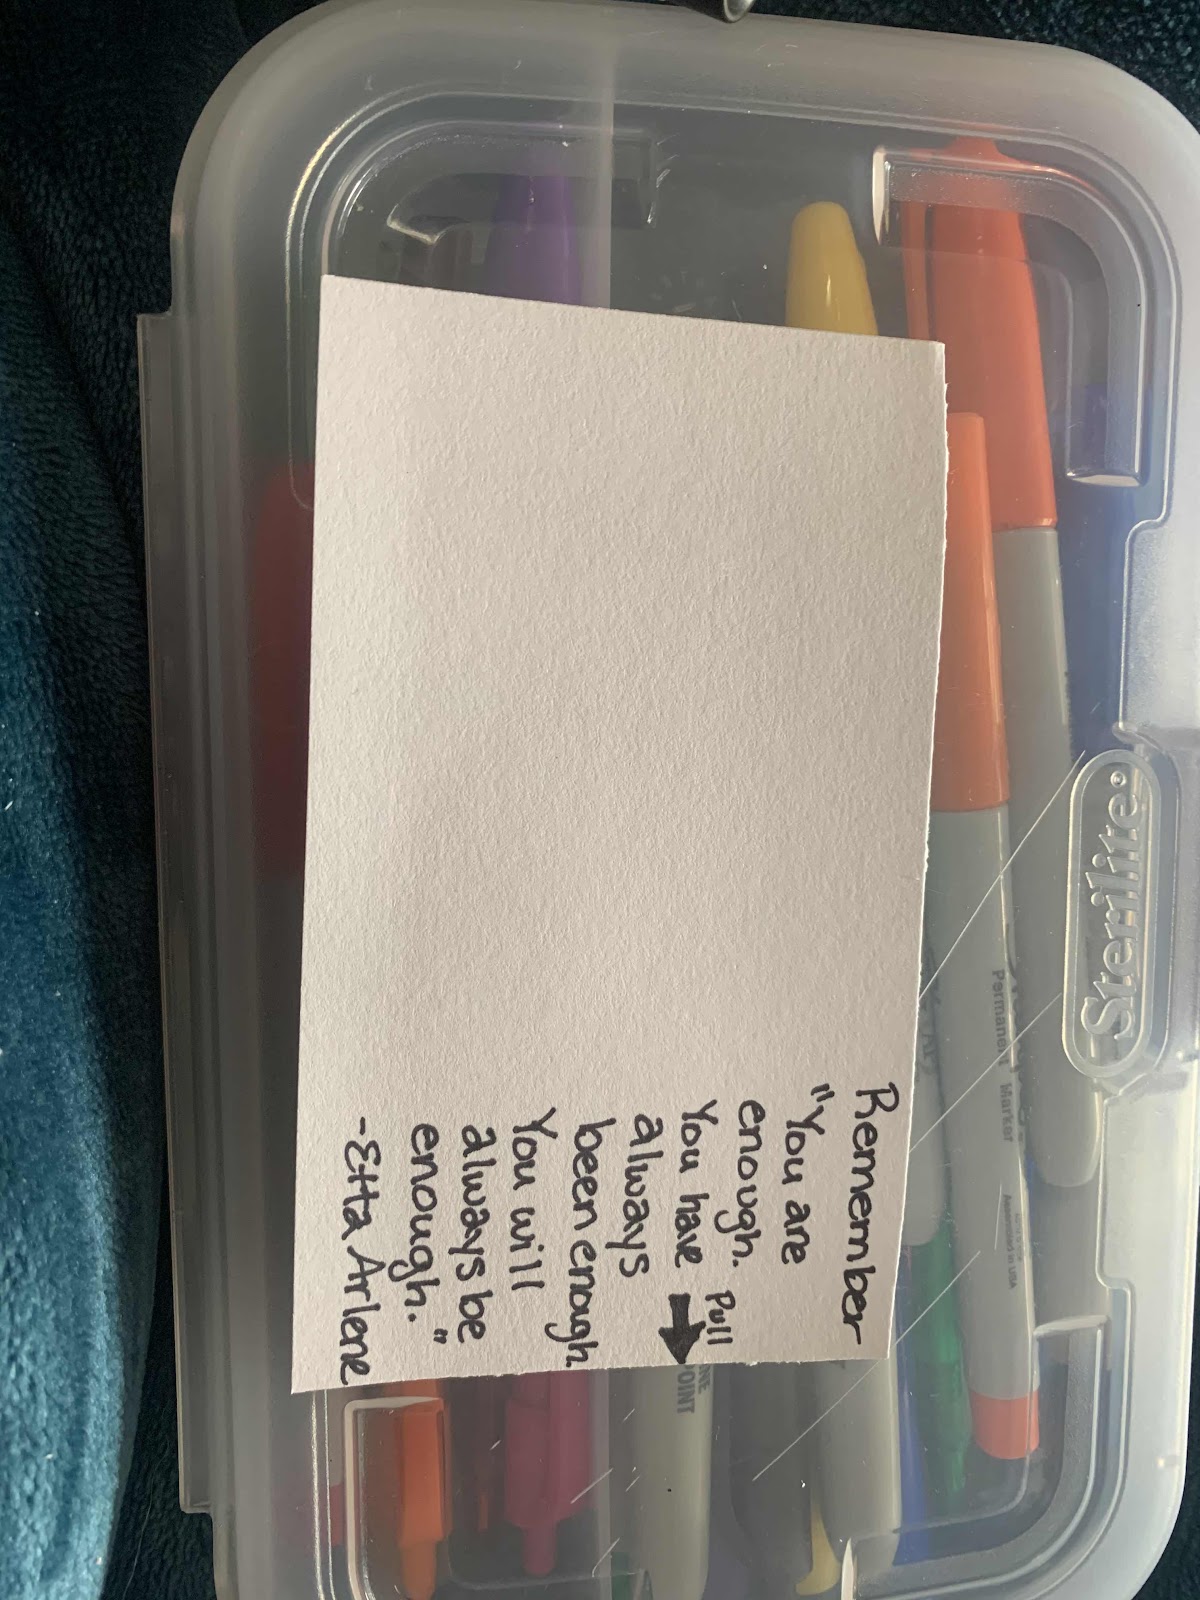
Once done, I put this on top of the back of the front of the card lining up as before (I hope the picture makes more sense than the words I said).

Then I tape the other end of the rainbow to this inside card piece. Here are a couple of different pictures of how I do this so hopefully, it makes sense. Again, I normally use clear tape for this and this will be seen a little.

Then, I place the back of the card on top of the other pieces.

I tape three sides (leaving the half-circle side un-taped). I actually like the rainbow washi tape so much better than the clear tape for this and will be using it on all these cards from now on.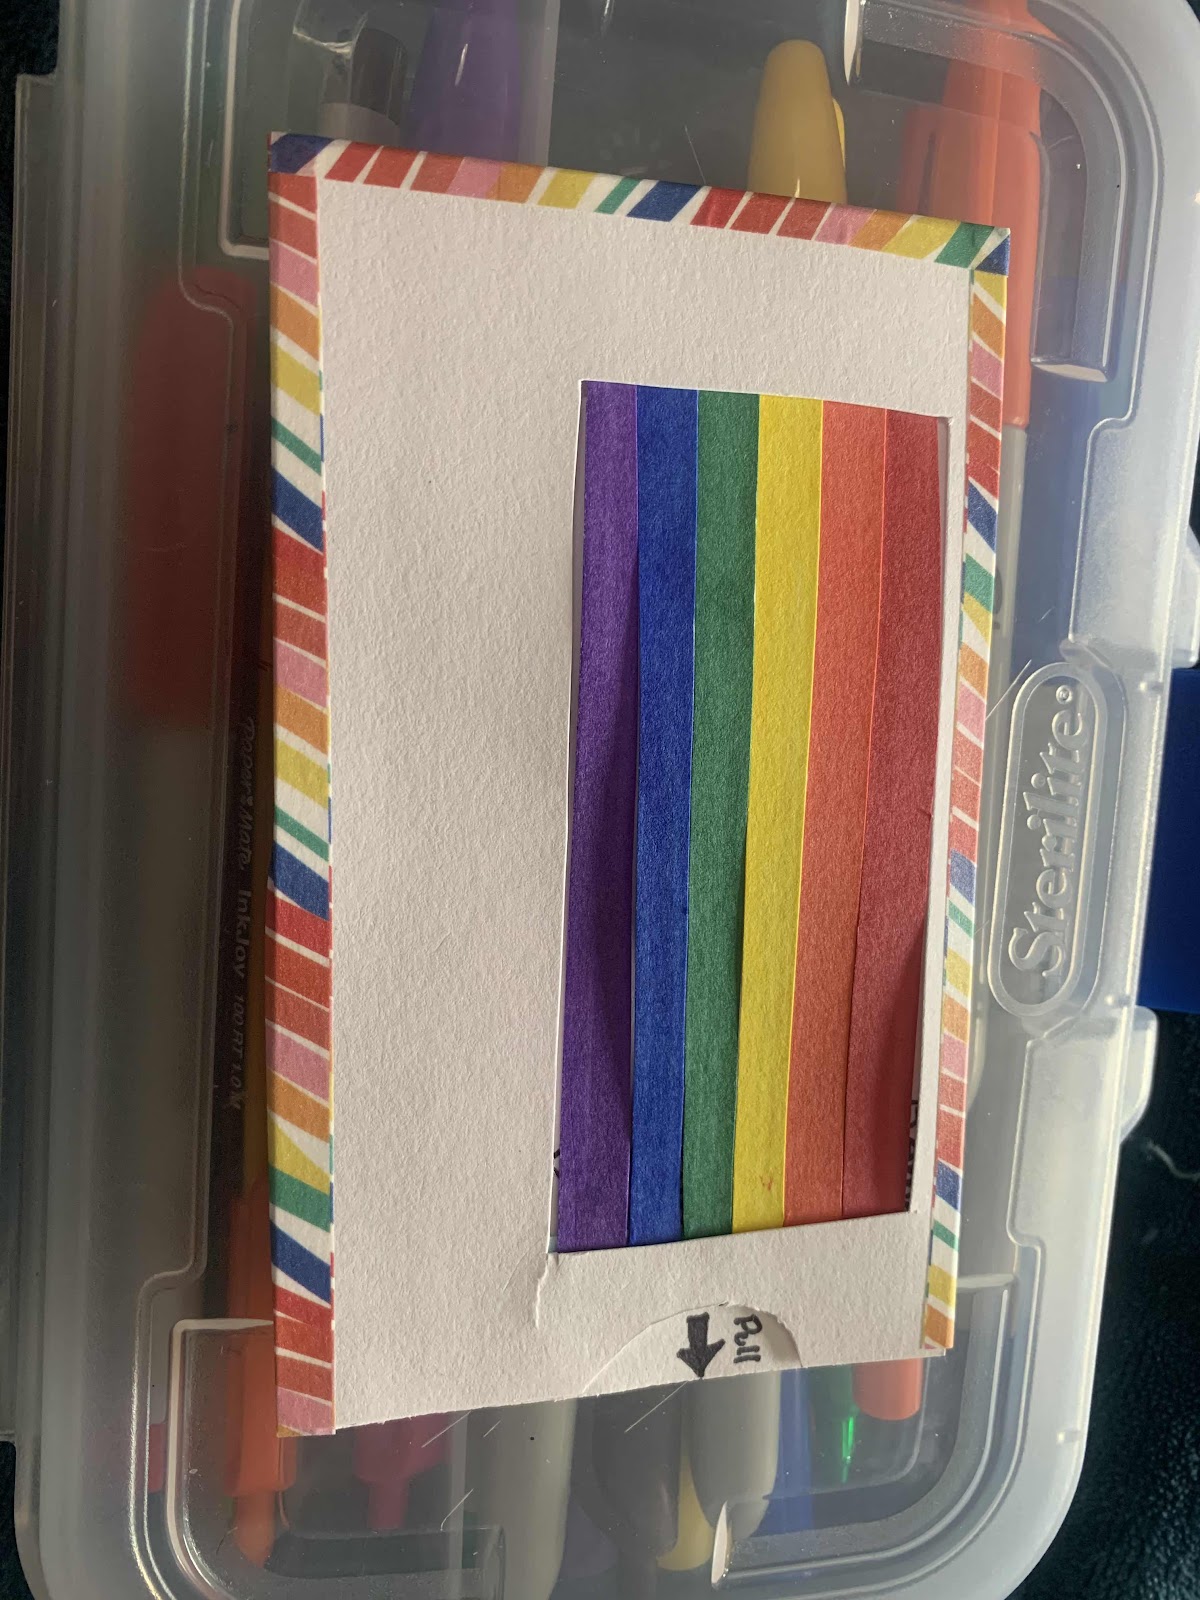
I then test to make sure the rainbow works as designed. Sometimes I have to trim it a tiny bit so it slides easier.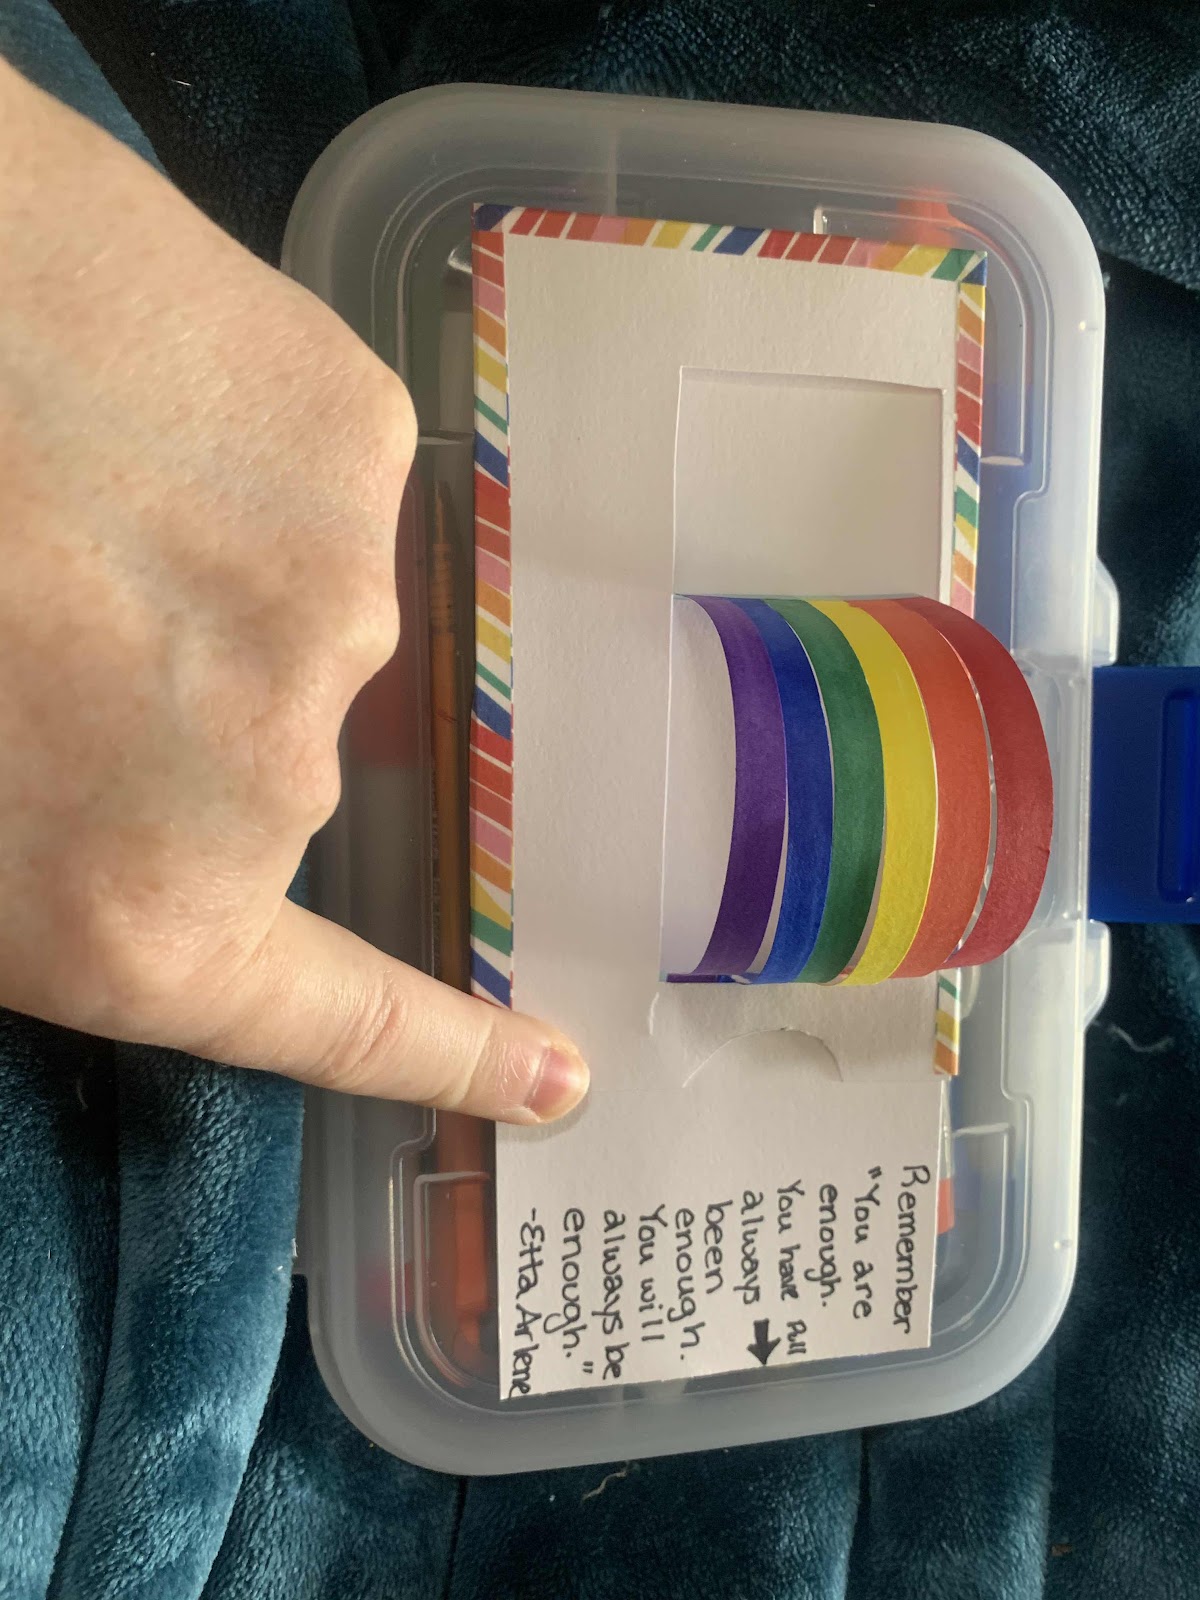
The book I recommend this post is “Felix Ever After” by Kacen Callender. I found the book because it was the January book read by the WV Pride book club and if WV has a pride book club, I expect one in every state. It is a YA book about a transgender teen working through questions of identity, dealing with prejudice, and also falling in love for the first time.
This is my favorite card.
I have been sending them to LGBT kids as a “just because.”
A paper hug to let them know they are being thought of and are not alone.
This is also the first card that I made (not this particular one, but this design).
I saw a Pinterest pin and really liked it. They used a die cutter and it is more refined than my hand-cut one, but I really wanted another color in the rainbow.
I’ve come to like the imperfections of cutting it myself (plus I do not need more craft stupplies).
Anyway,
I made mine out of what I had on hand at the time 3x5 blank notecards. I use 4 for each rainbow card.
First I cut the rainbow piece out.
I found it easier to cut one whole side than trying to only cut out the middle pieces like the die-cut does.
Then I color each of the little pieces of the rainbow, putting a piece of paper between so I don’t get the marker on the other strips and I am able to get the edges well.
I use sharpies, though I have borrowed my oldest alcohol markers and they worked a little better coloring both sides of the paper. I don’t think it is needed though (and they are a lot more expensive).
When it is finished being colored it looks like this.
Next, I cut a half-circular notch in two of the cards.
Yes, that is supposed to look like a half-circle, I cannot keep cutting trying to make it better, or else it will get way too big (I have done this several times in the past).
I set one of those aside for later, it will be the back of the card.
With the other, I cut a rectangular hole for the rainbow to pop out. It must be a tiny bit taller than the rainbow, but not as wide as the rainbow. I have in the past cut this rectangle out with scissors, but have found it easier to use a box cutter.
The rectangle cut out is not used in the project, it is too small for the rainbow and I have not found a good use for it yet.
Next I cut the 4th note card down in size, it will be the center of the card. This just needs to be small enough to easily pull through the outside parts of the card without getting stuck.
Now for the assembly.
I tape the cut portion of the rainbow to the inside of the front of the card where the half-circle is cut out.
I generally do this with regular tape, but couldn’t find mine today (it probably got out in the attic with the Christmas wrapping stuff last month).
I do like this slim washi tape for this though because it perfectly fits, though the pattern will never be seen. I normally have to cut the regular tape in half to do this.
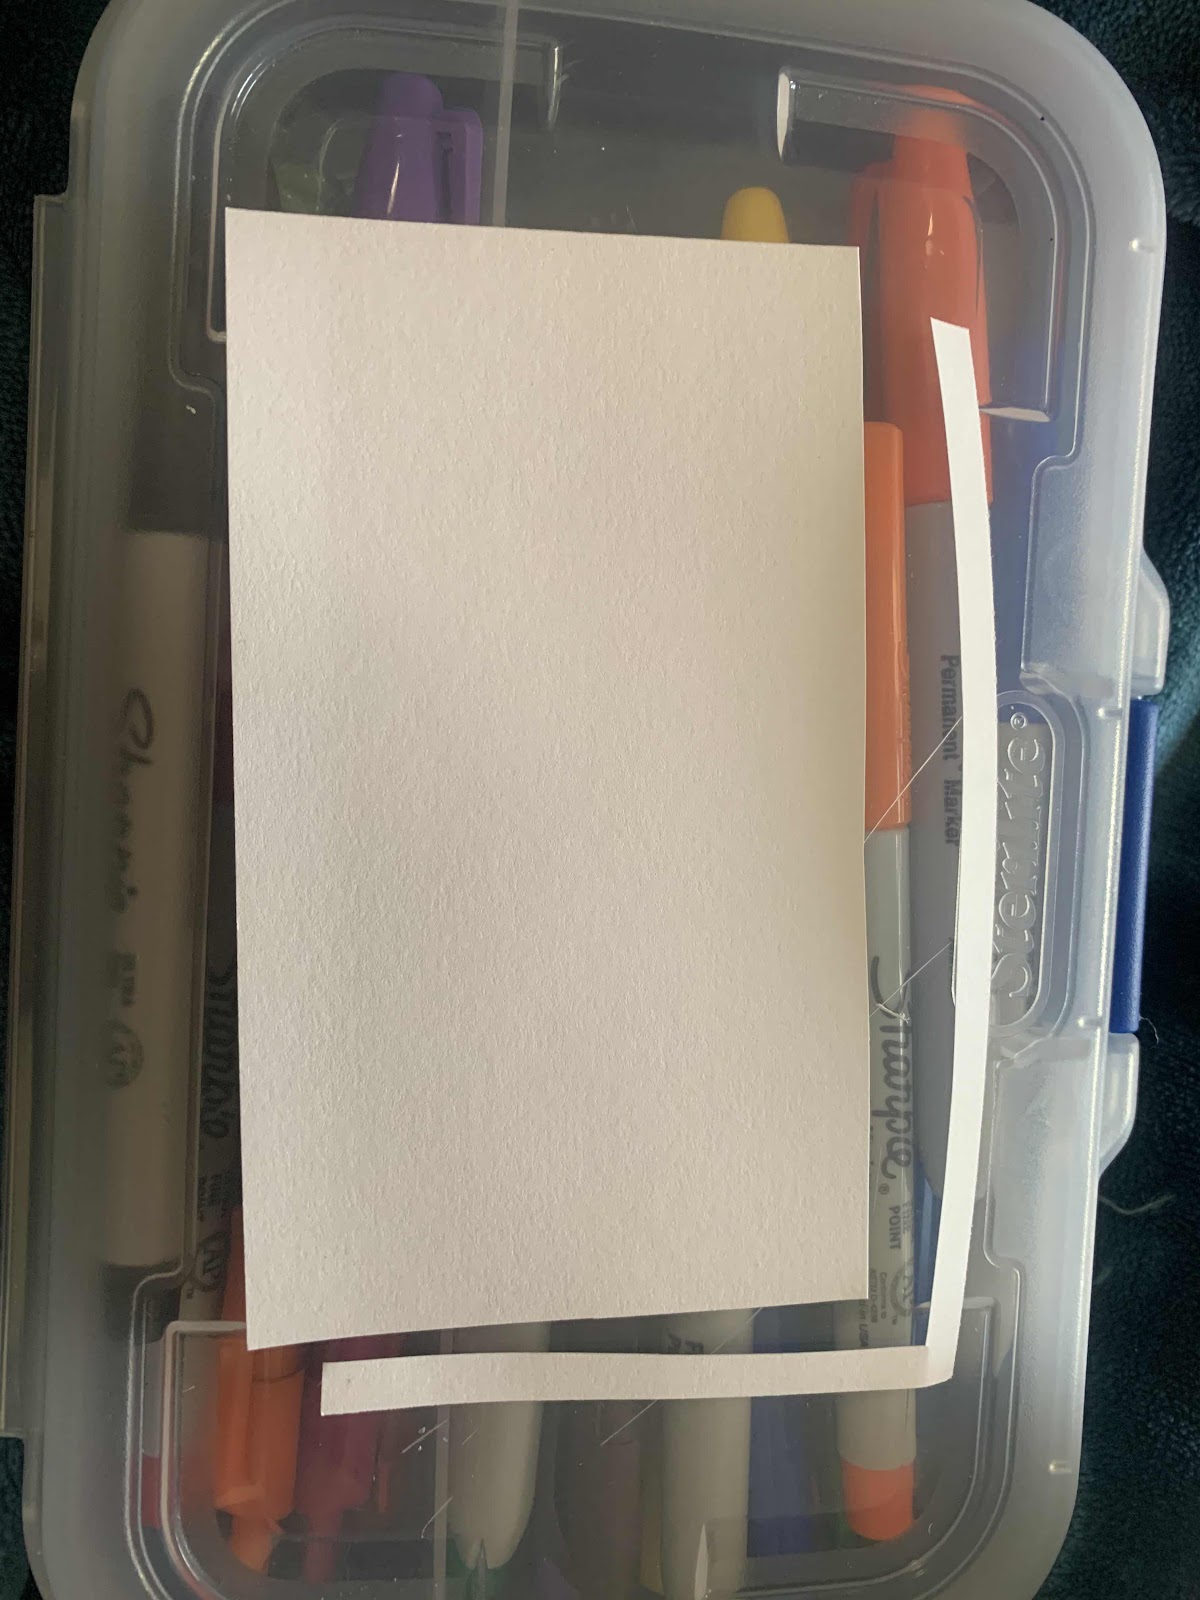
I then prep the inside card. Lining the edge up against the circle cut edge of the front.
Then I carefully flip it all over together and draw an arrow and “pull” on the part that is shown through the cut circle.
(Yea, I accidentally ripped this card a tiny bit when I went to reposition the washi tape, these notecards are so thin even washi ripped them!)
I then set the front of the card aside so I can write on the middle part of the card.
I could have used more space for the inside the card, but I tend to forget I have more room.
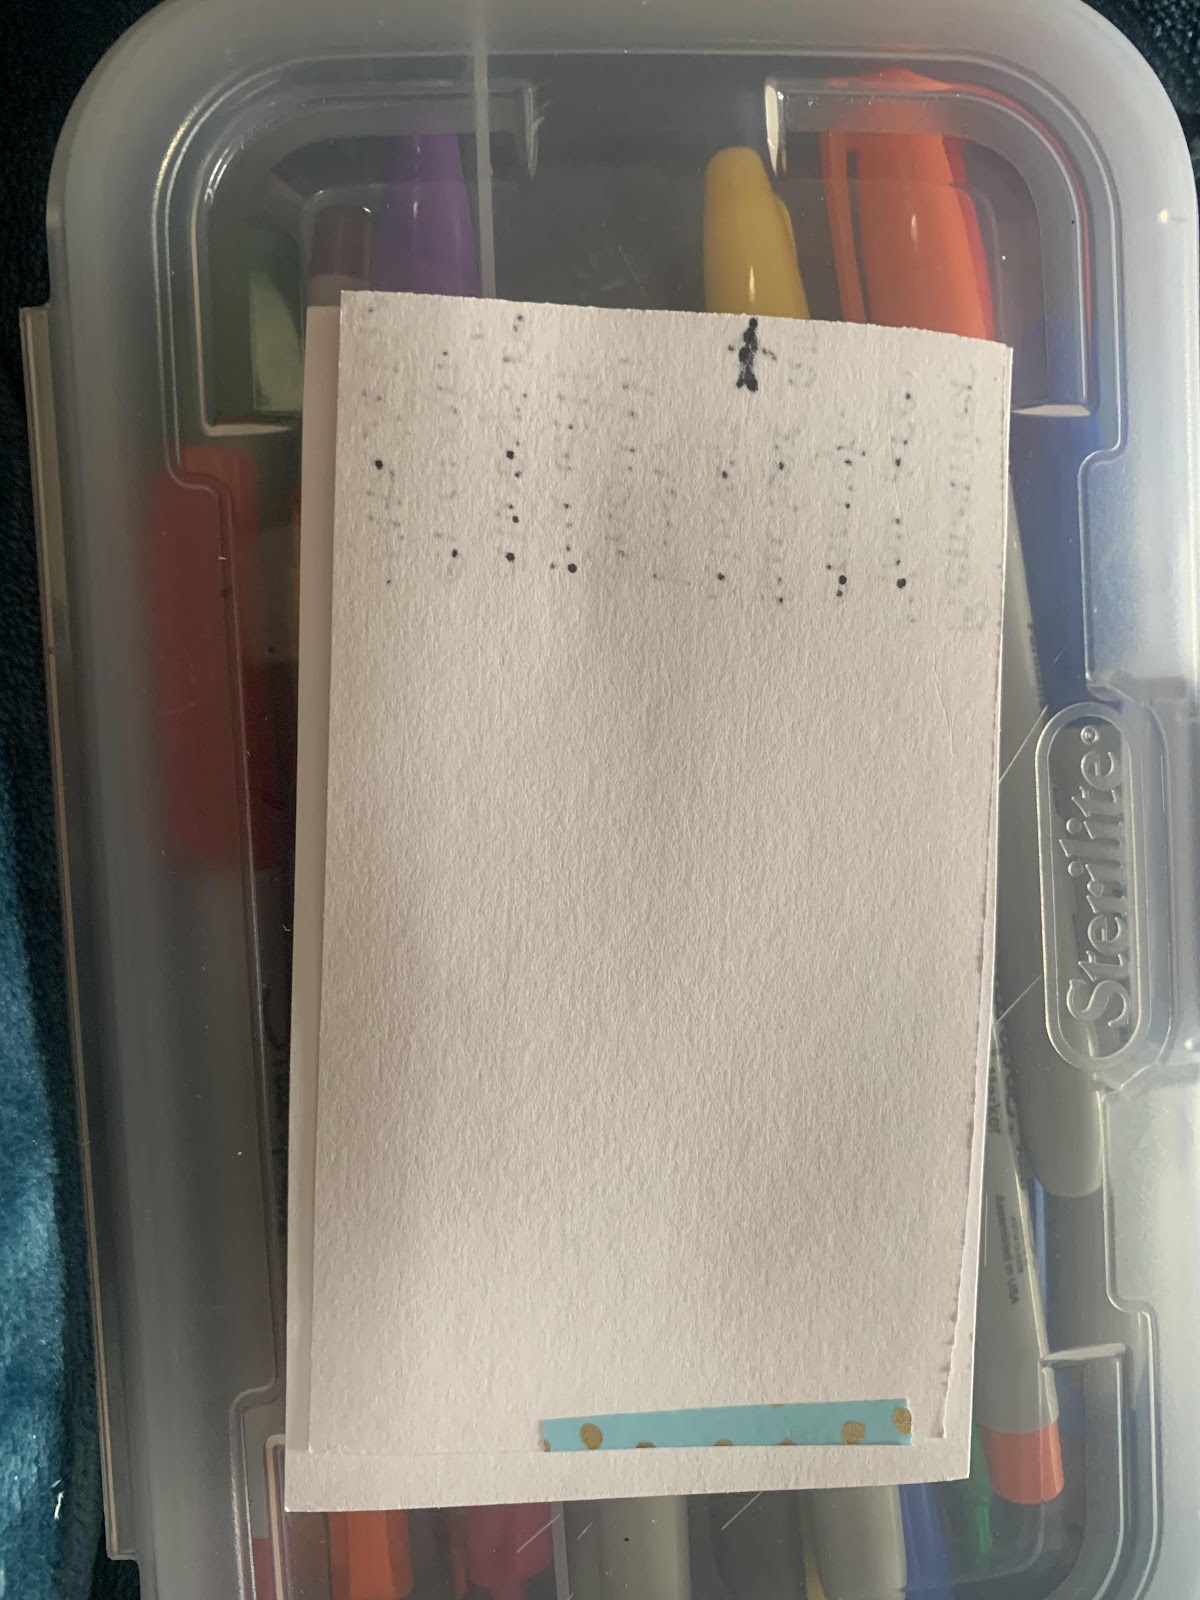
Once done, I put this on top of the back of the front of the card lining up as before (I hope the picture makes more sense than the words I said).
Then I tape the other end of the rainbow to this inside card piece. Here are a couple of different pictures of how I do this so hopefully, it makes sense. Again, I normally use clear tape for this and this will be seen a little.
Then, I place the back of the card on top of the other pieces.
I tape three sides (leaving the half-circle side un-taped). I actually like the rainbow washi tape so much better than the clear tape for this and will be using it on all these cards from now on.
I then test to make sure the rainbow works as designed. Sometimes I have to trim it a tiny bit so it slides easier.
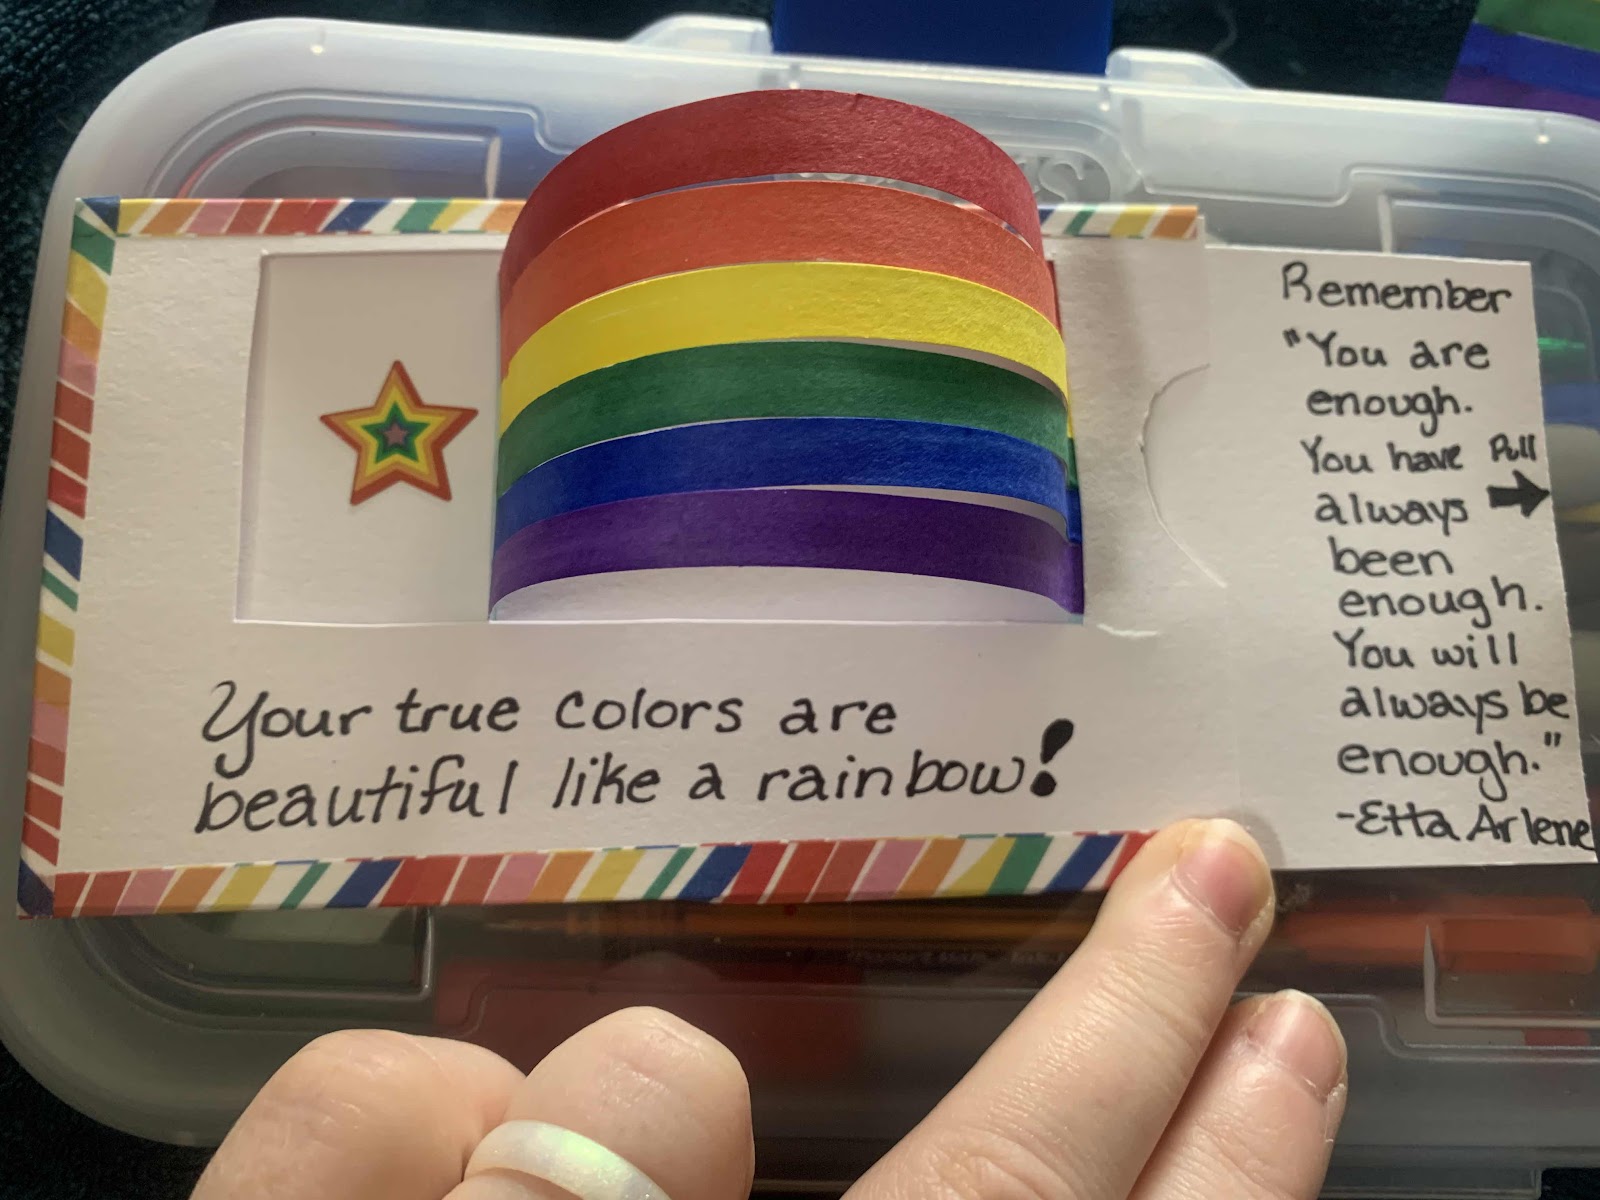
Lastly, I write the saying on the front, place a sticker inside as well as write the individual’s name on the back and sign the back.
The book I recommend this post is “Felix Ever After” by Kacen Callender. I found the book because it was the January book read by the WV Pride book club and if WV has a pride book club, I expect one in every state. It is a YA book about a transgender teen working through questions of identity, dealing with prejudice, and also falling in love for the first time.
Comments
Post a Comment